How to configure Gumroad Payments
PAGE TYPE
ADMIN
Slug
configure-gumroad-payments
Publish
Publish
global_site_name
Cloakist
cn_registrar_name
cn_registrar_url
cn_registrar_login_url
cn_guide_url
cn_redirect_url
platform_name
platform_page_type
platform_blurb
platform_example_url
platform_cloakist_url
platform_share_image
Canonical URL
With
{{global_site_name}} you can restrict access to your Notion document by requiring members to sign up with a Gumroad Payment.{{global_site_name}} uses Gumroad to process payments that allows members access to your Notion content.This guide will explain how to configure Gumroad Payments on
{{global_site_name}}.- Link your Notion document in
{{global_site_name}}
- Create your product on Gumroad
- Connect your Gumroad product in
{{global_site_name}}
- Configure Gumroad Ping
Quick 1 minute demo

Step 1: Link your Notion document in {{global_site_name}}
On your
{{global_site_name}} dashboard make sure your Notion page is linked.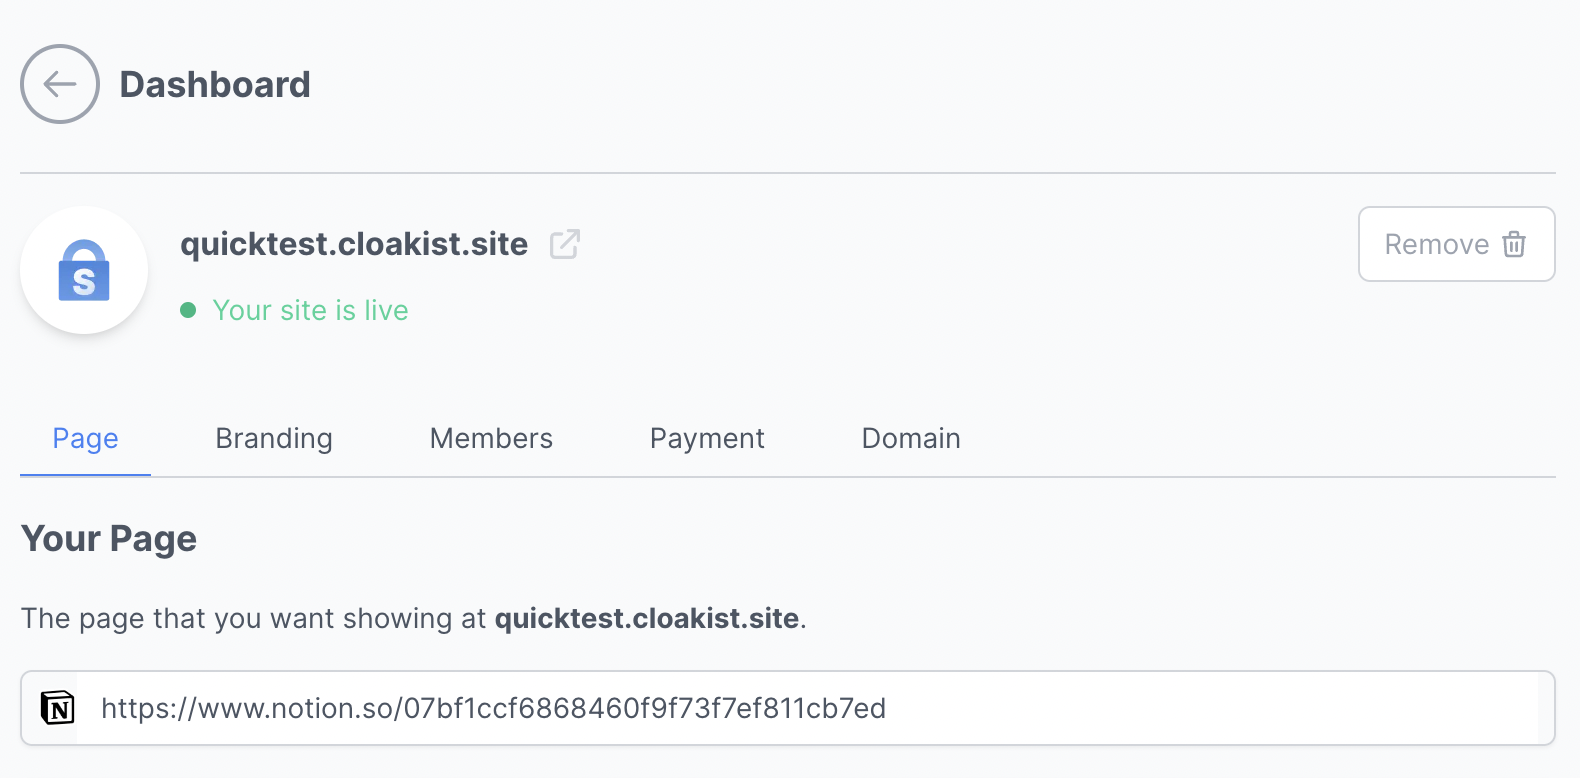
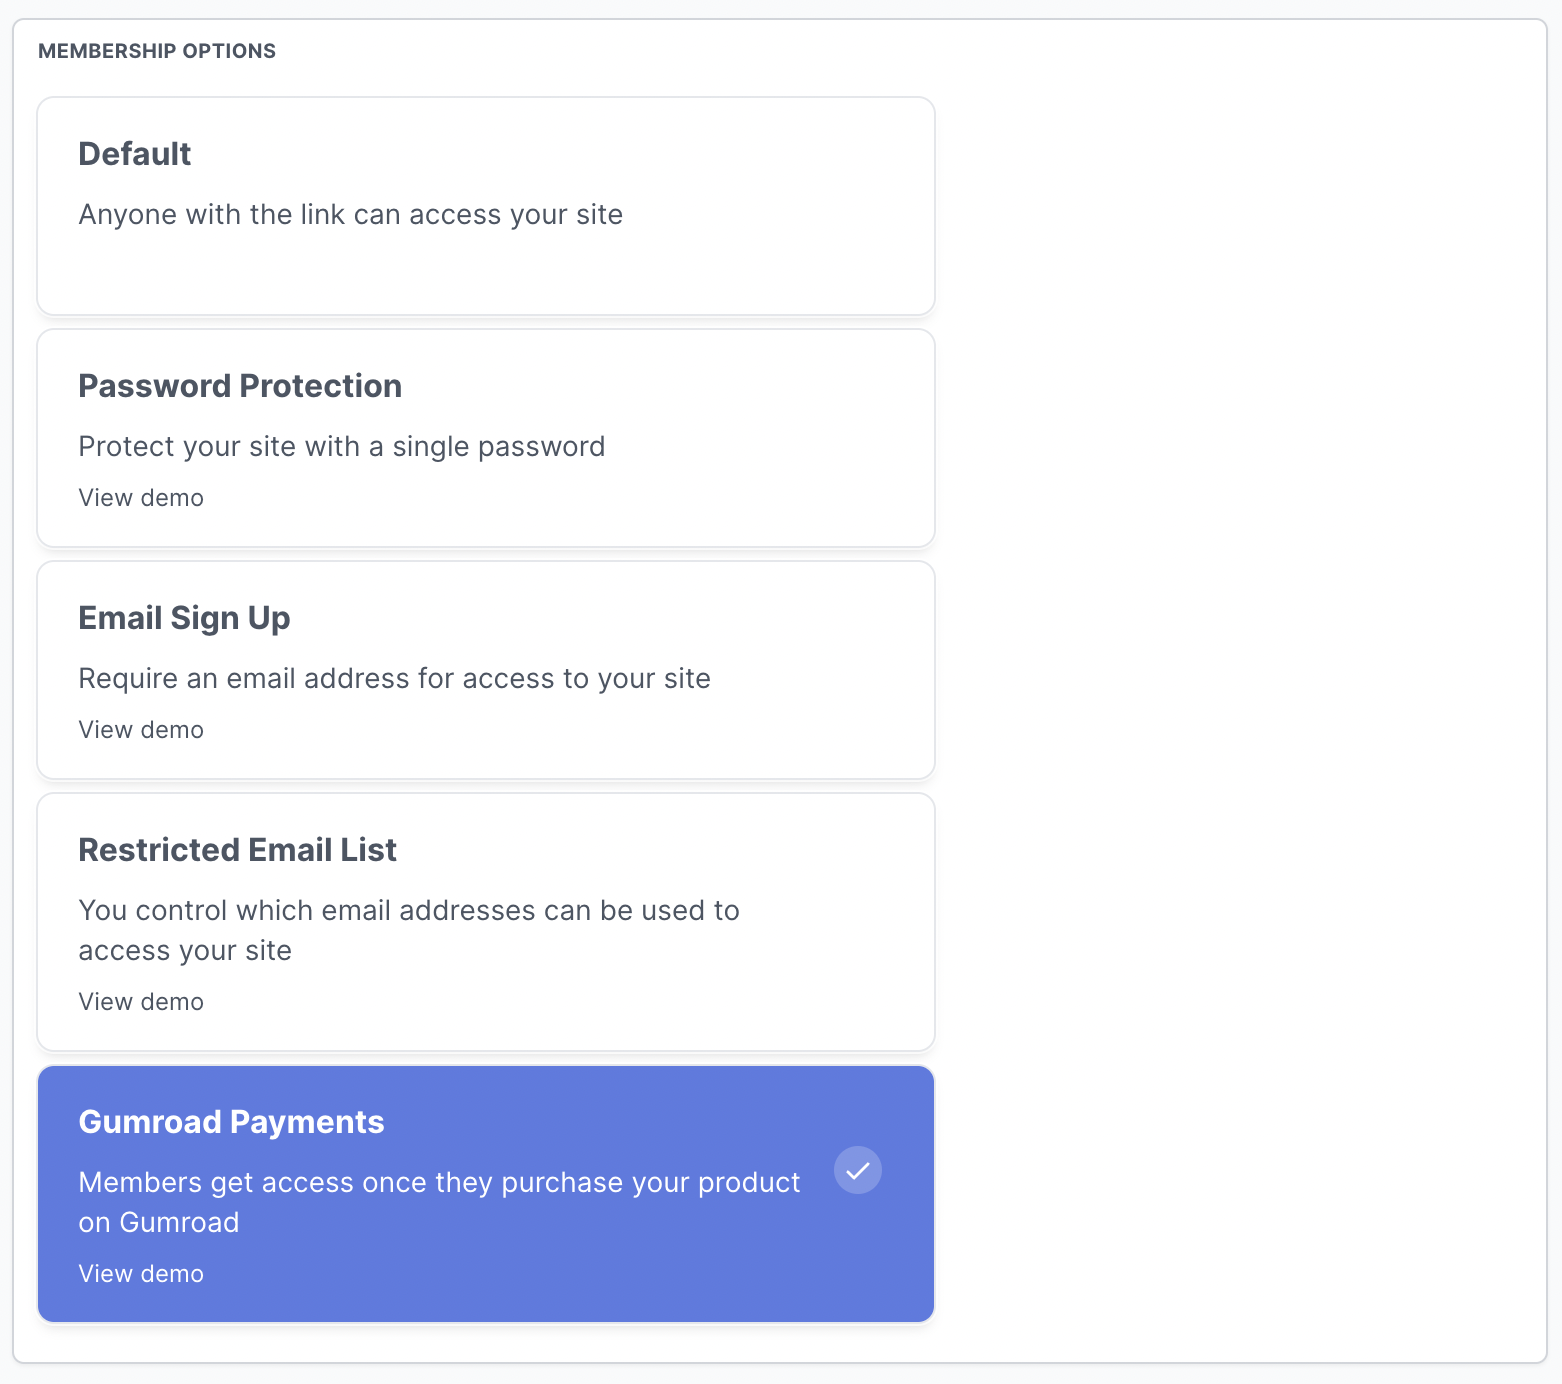
Under Membership Options → Select the “Gumroad Payments” option and click “Update Page”
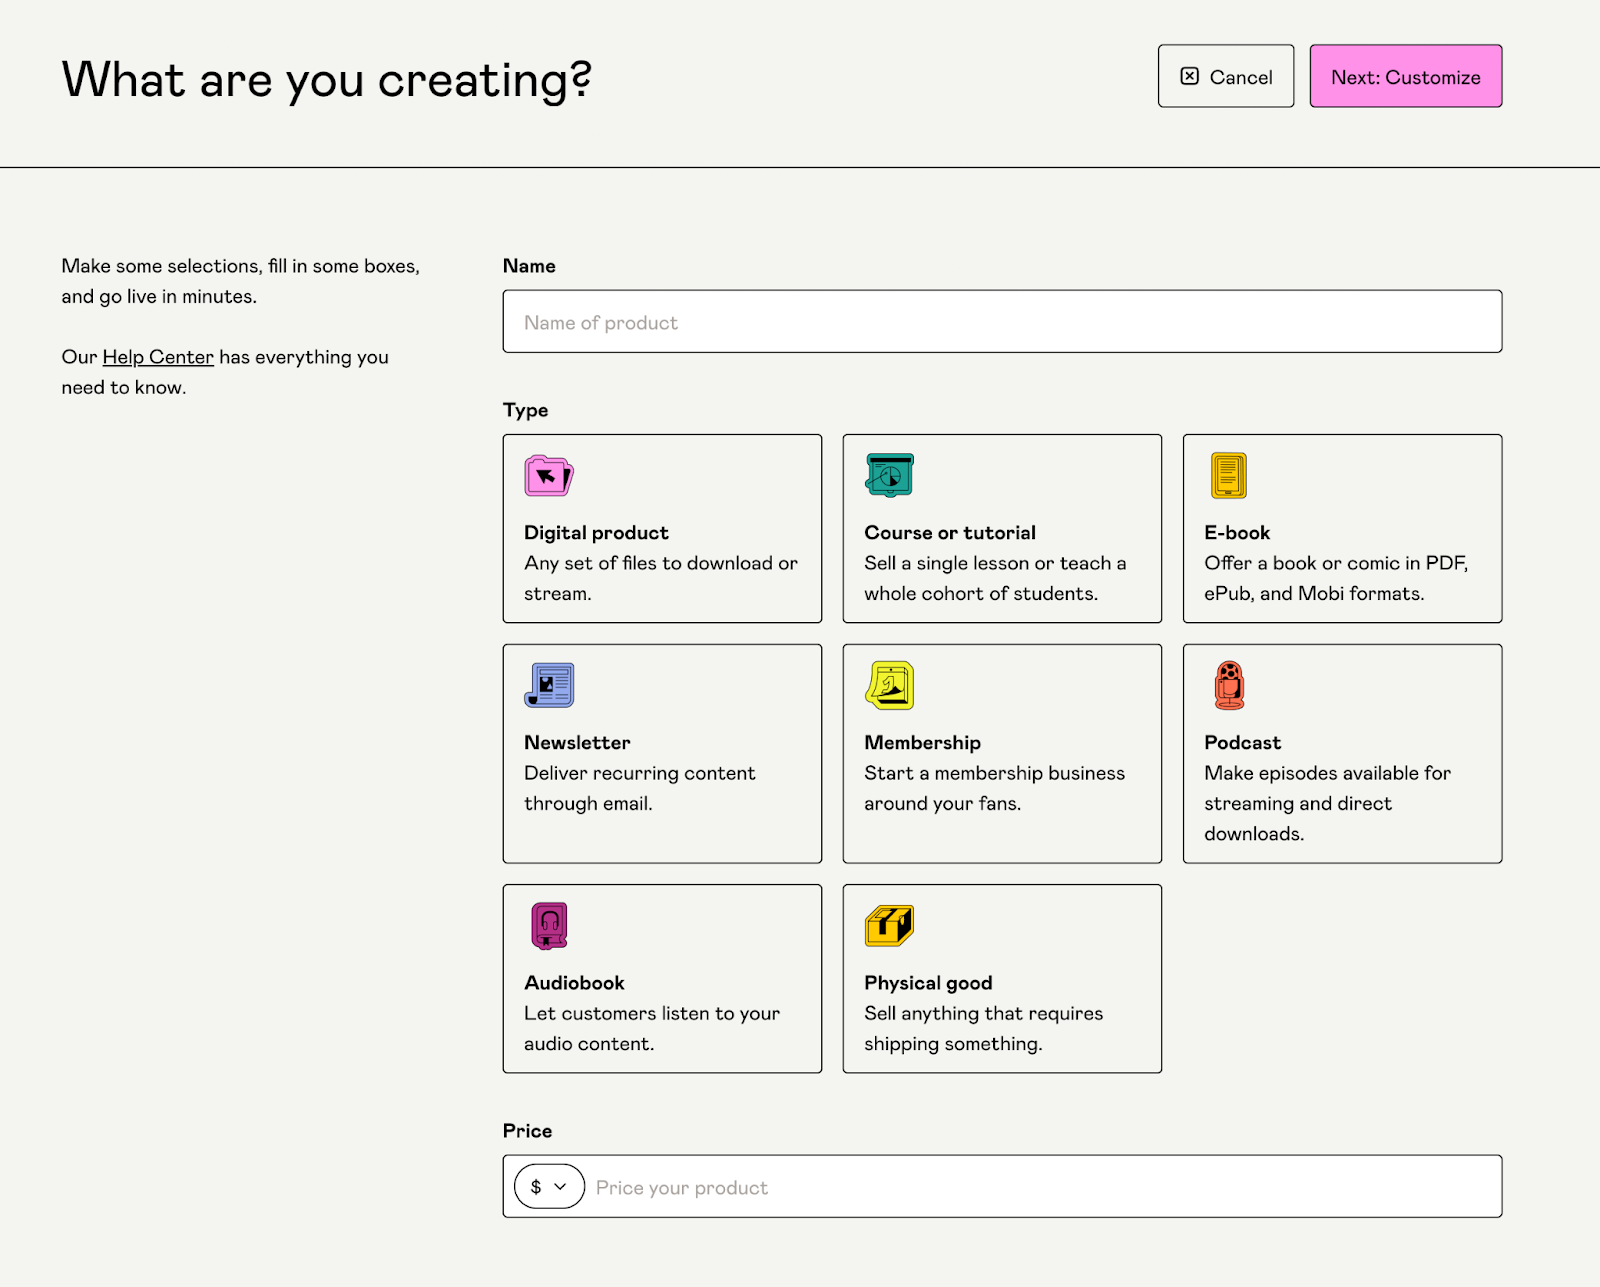
Step 2: Create your product on Gumroad
With Gumroad you can create a new product that will be linked your
{{global_site_name}} site.Select the appropriate Gumroad product type
- Digital product
- Course or tutorial
- E-book
- Newsletter
- Membership
- etc.
Configure Gumroad payment options
Most Gumroad products support once-off payments, or if you want to recurring payment, then select the “Membership” product type.
For
{{global_site_name}} it does not matter what payment option you select. We support all Gumroad payment types.This is completely up to how you want to configure your membership payments.
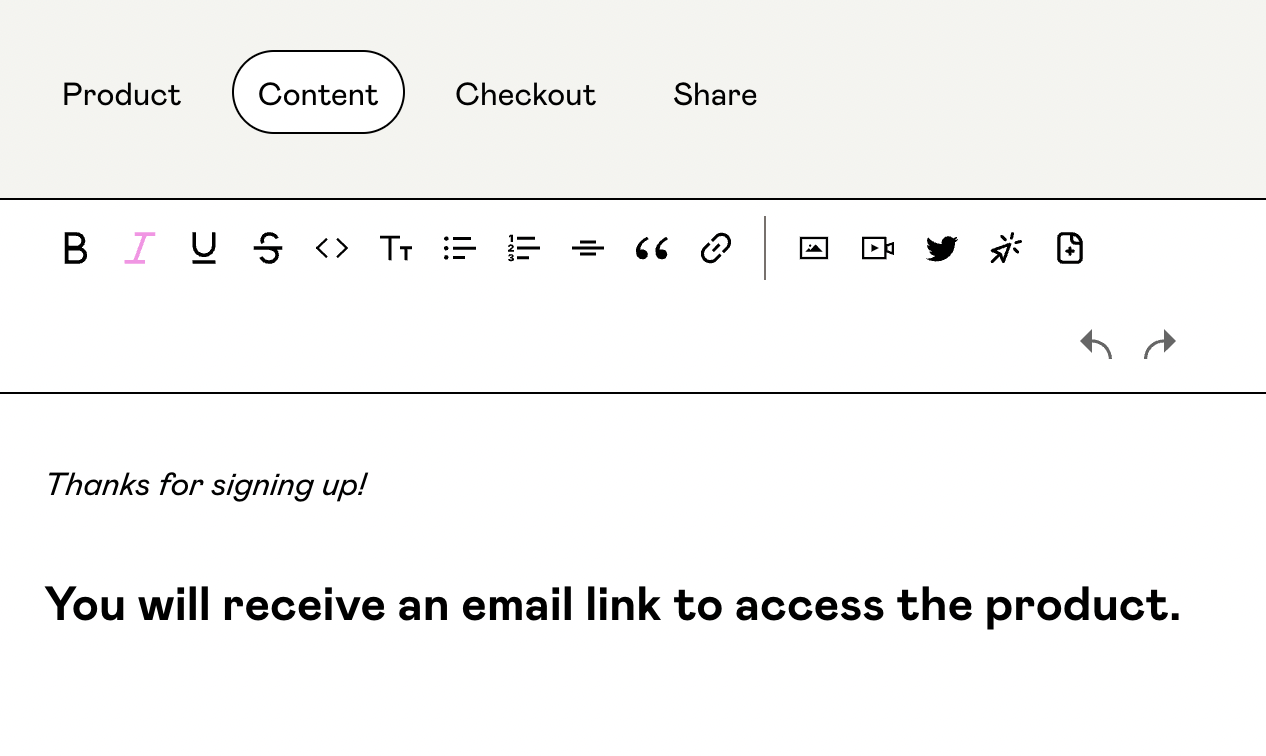
Create a product description
You can add any details you need regarding you product.
We recommend you put a line in the description to tell members they will receive an email link for your site.
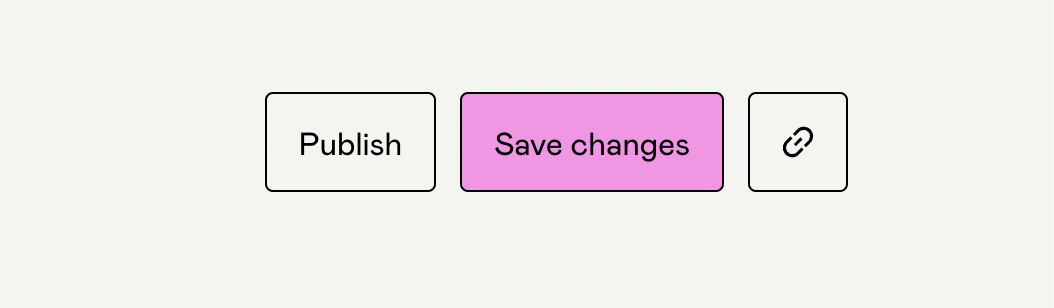
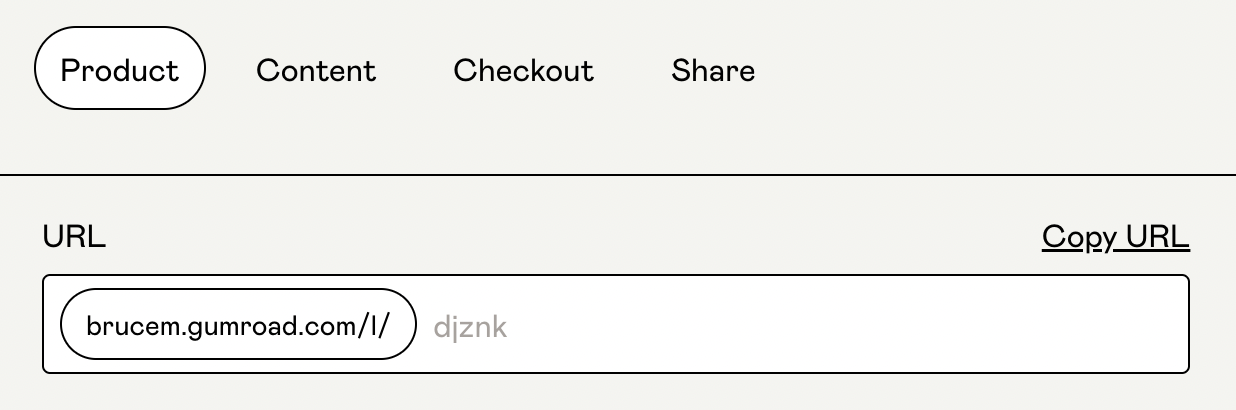
Publish your Gumroad product
Once you have created your Gumroad product, make sure to Save and Publish it.
You will need the link to the Gumroad product in the next step.
Need more help creating a Gumroad product?


Step 3: Connect your Gumroad product in {{global_site_name}}
On your
{{global_site_name}} dashboard, switch to the “Payment” tab.Here you can enter the link to your Gumroad product (from step 2).
Click “Connect”
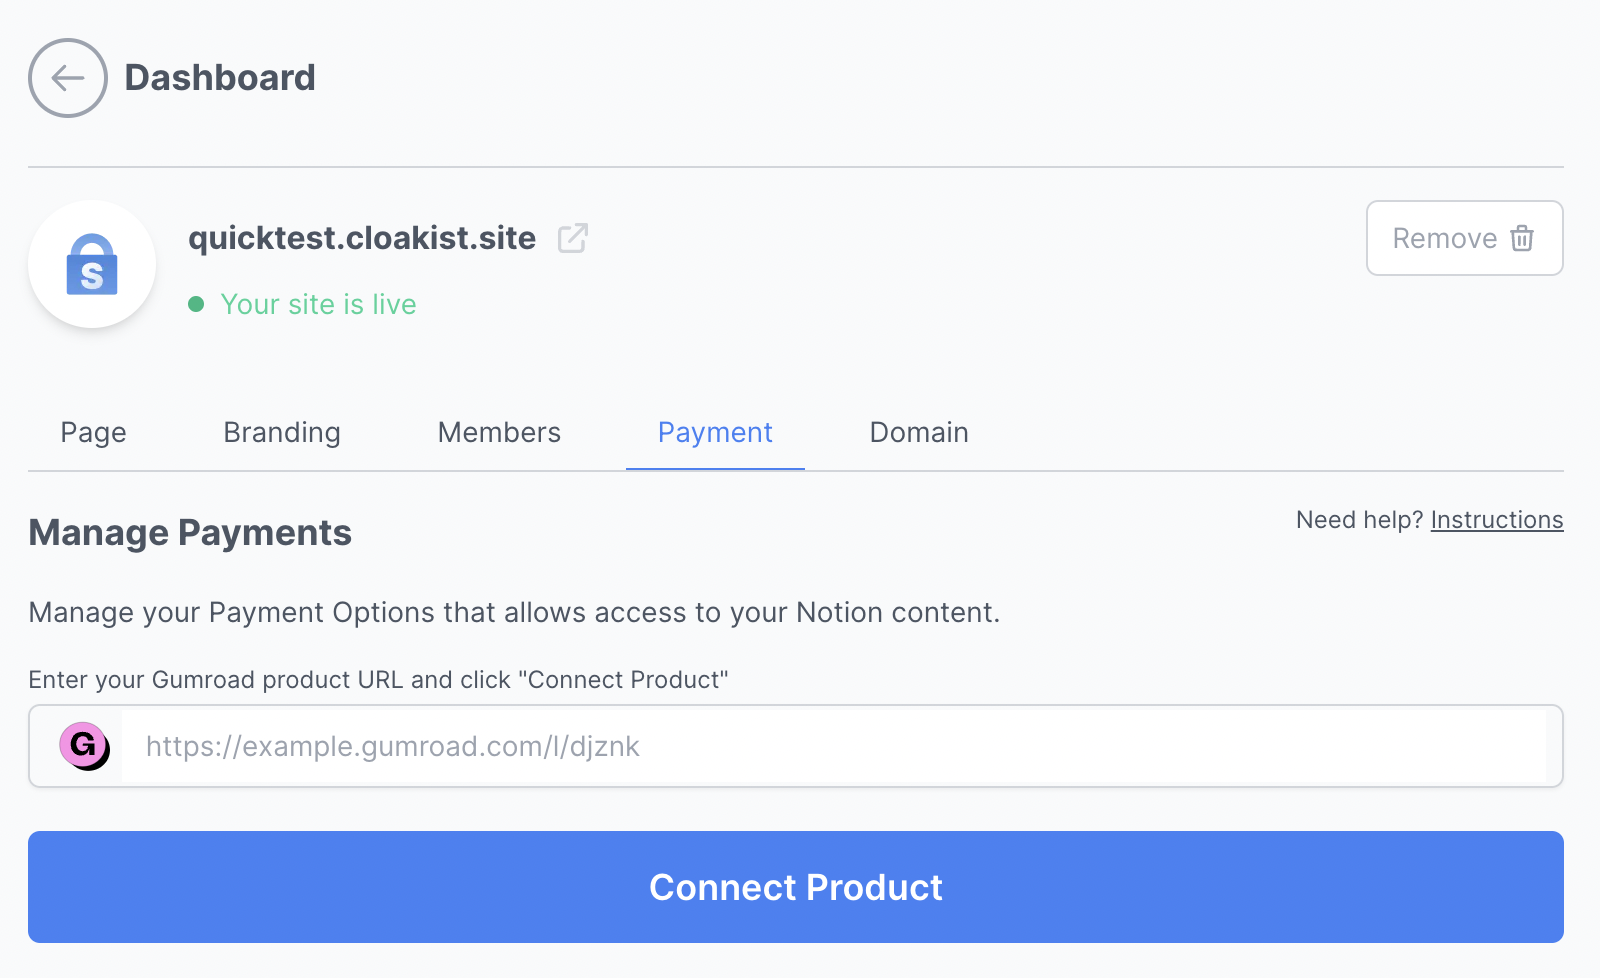
This will load your Gumroad product details and connect it to your site.
Once the product is connected, you will see a link for “Gumroad Ping Endpoint”
Copy the Gumroad Ping Endpoint link, you will need it in the next step

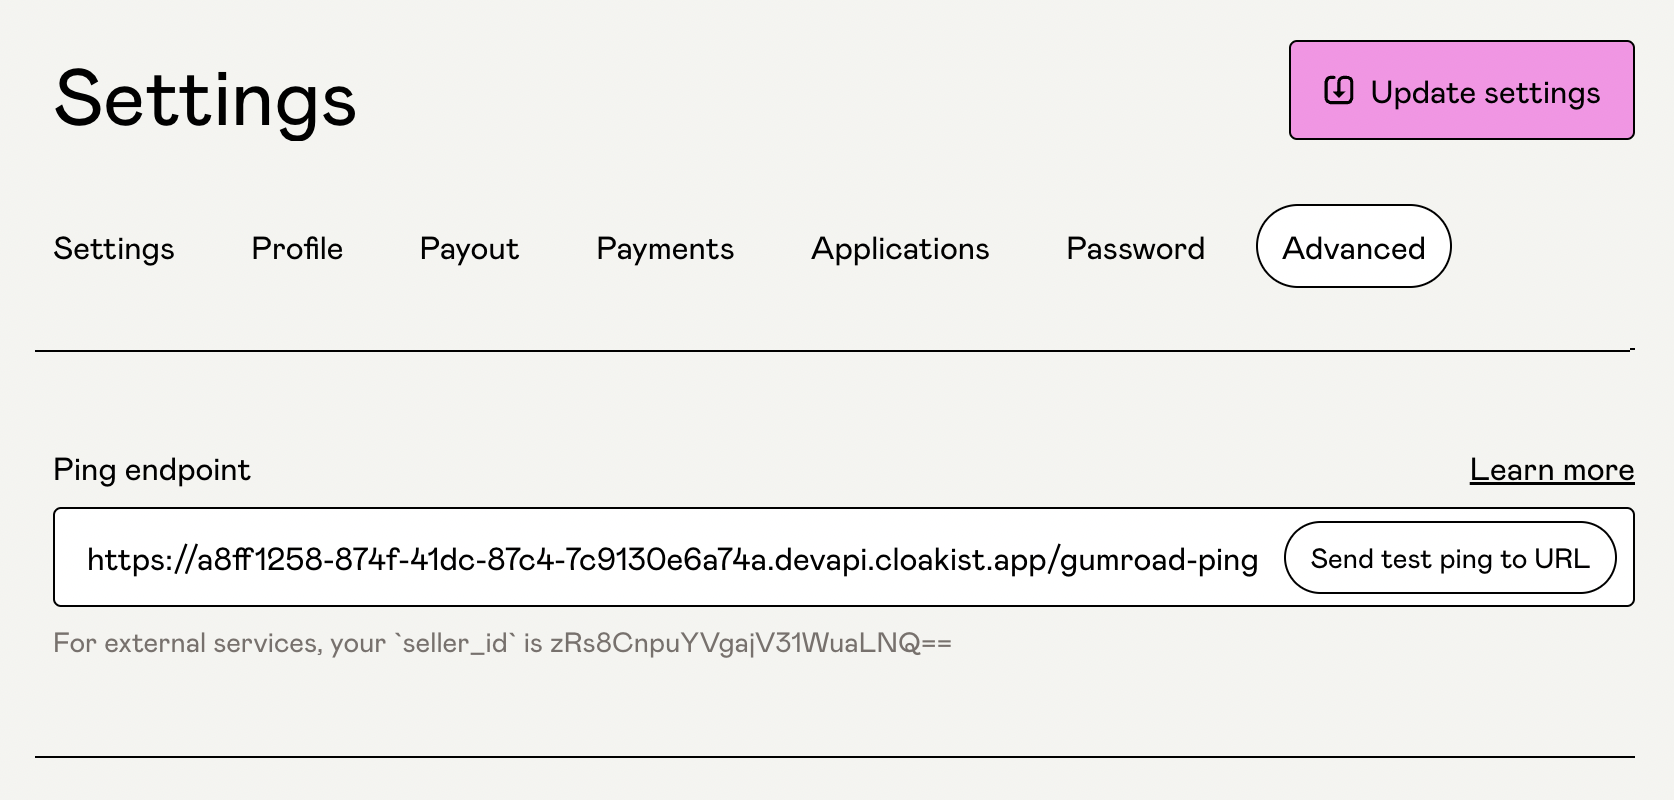
Step 4: Configure Gumroad Ping
Finally, you can go back to Gumroad → Settings → Advanced
Enter the Gumroad Ping Endpoint (from step 3)
Click “Update settings”
Conclusion
Congrats! Everything is now connected!
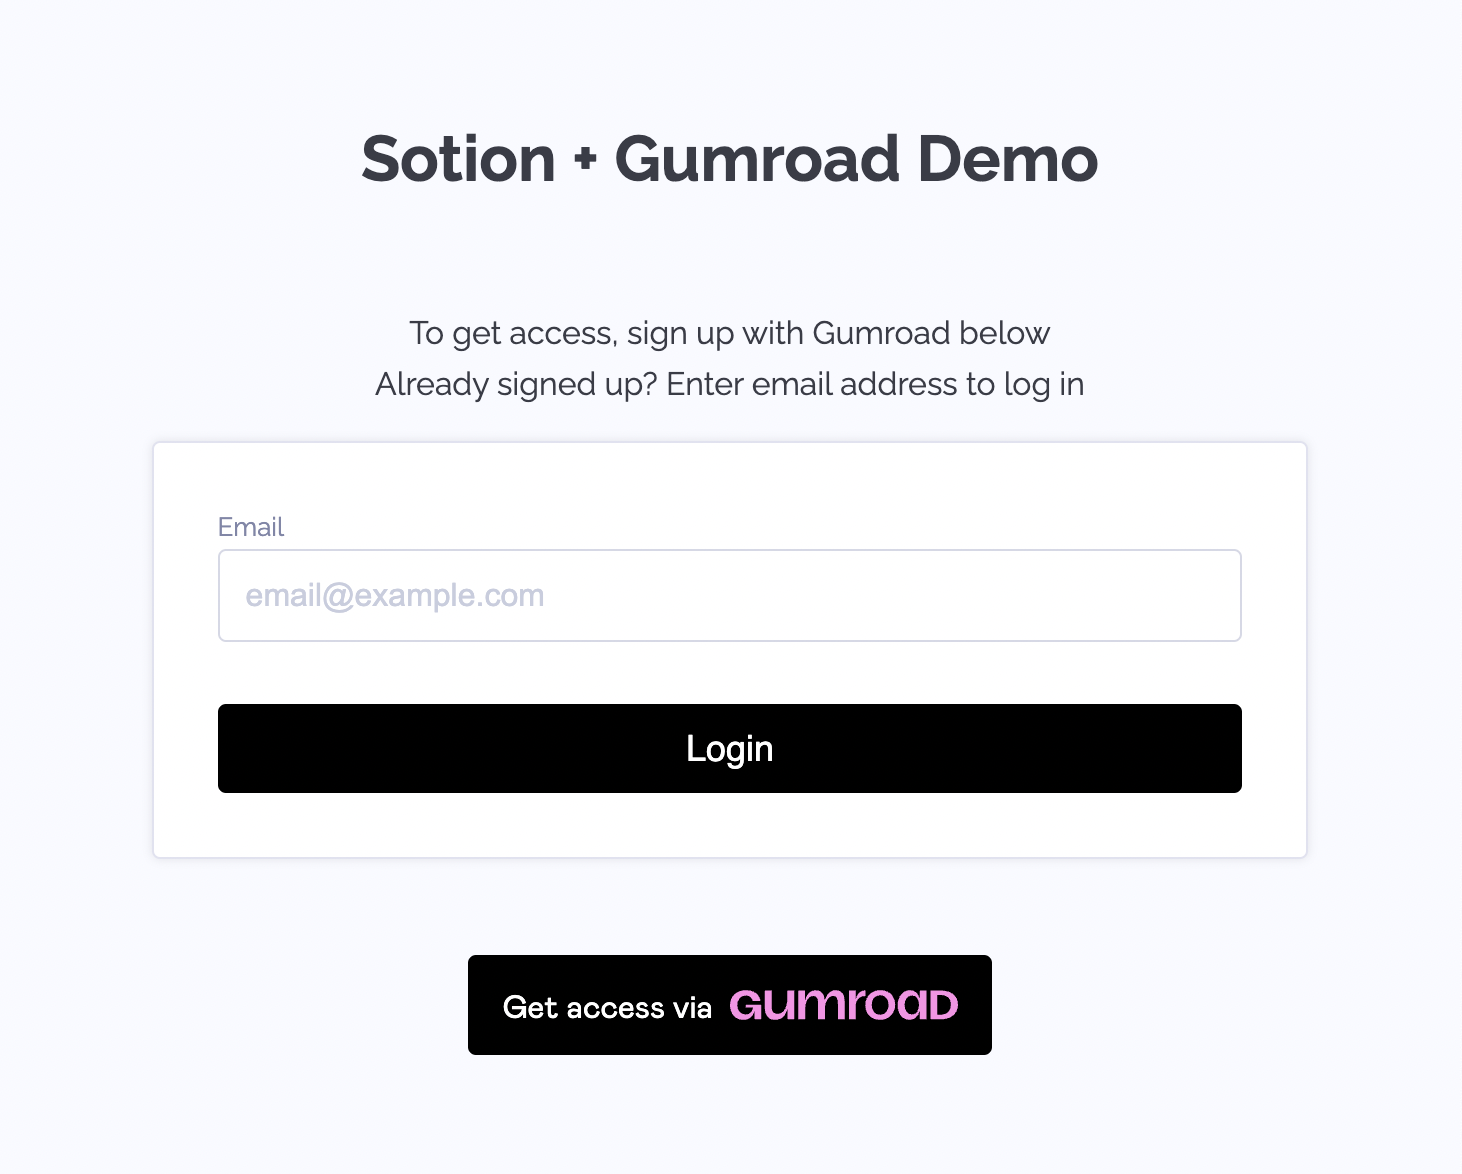
When someone visits your website they will see a login screen similar to this:
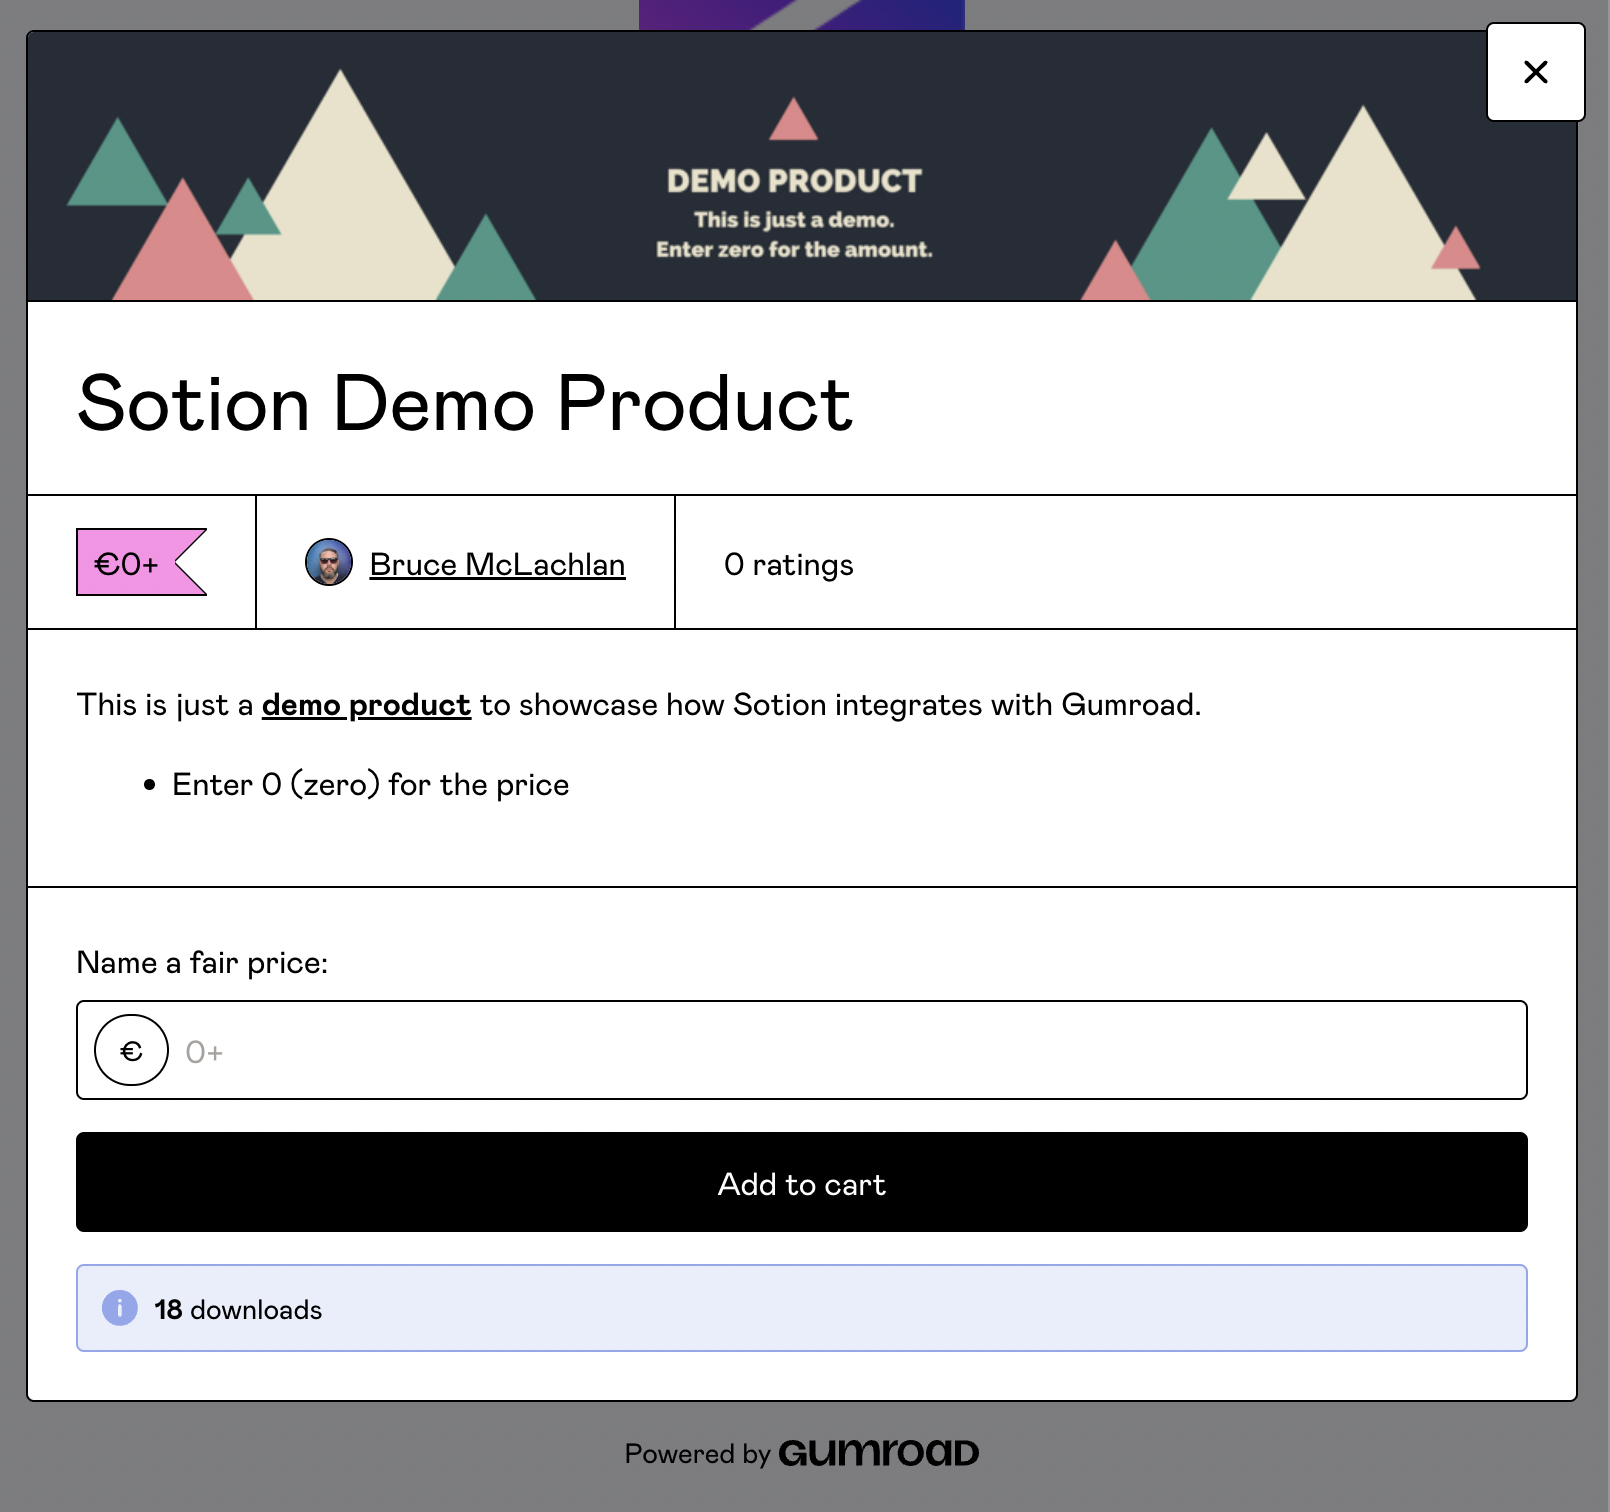
When they click on the Gumroad link, they will see the option to pay for your product:
Once they complete the payment, they will receive an email with a link to log in to your site:
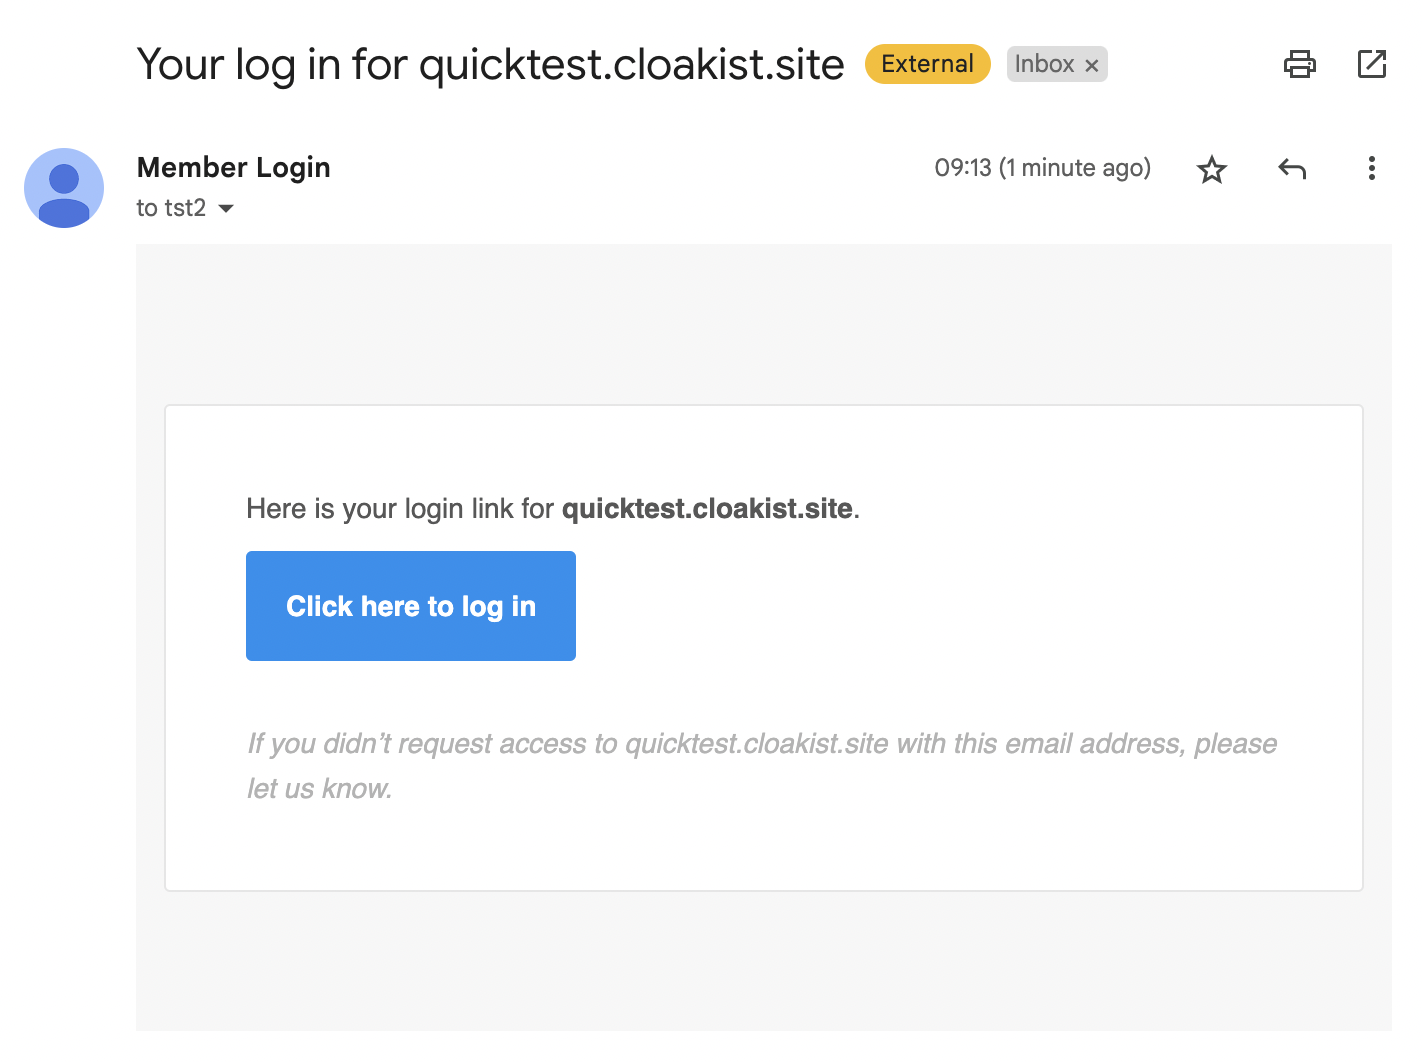
When they click on the link from the email, they will be taken directly to your site and will be able to view the content.
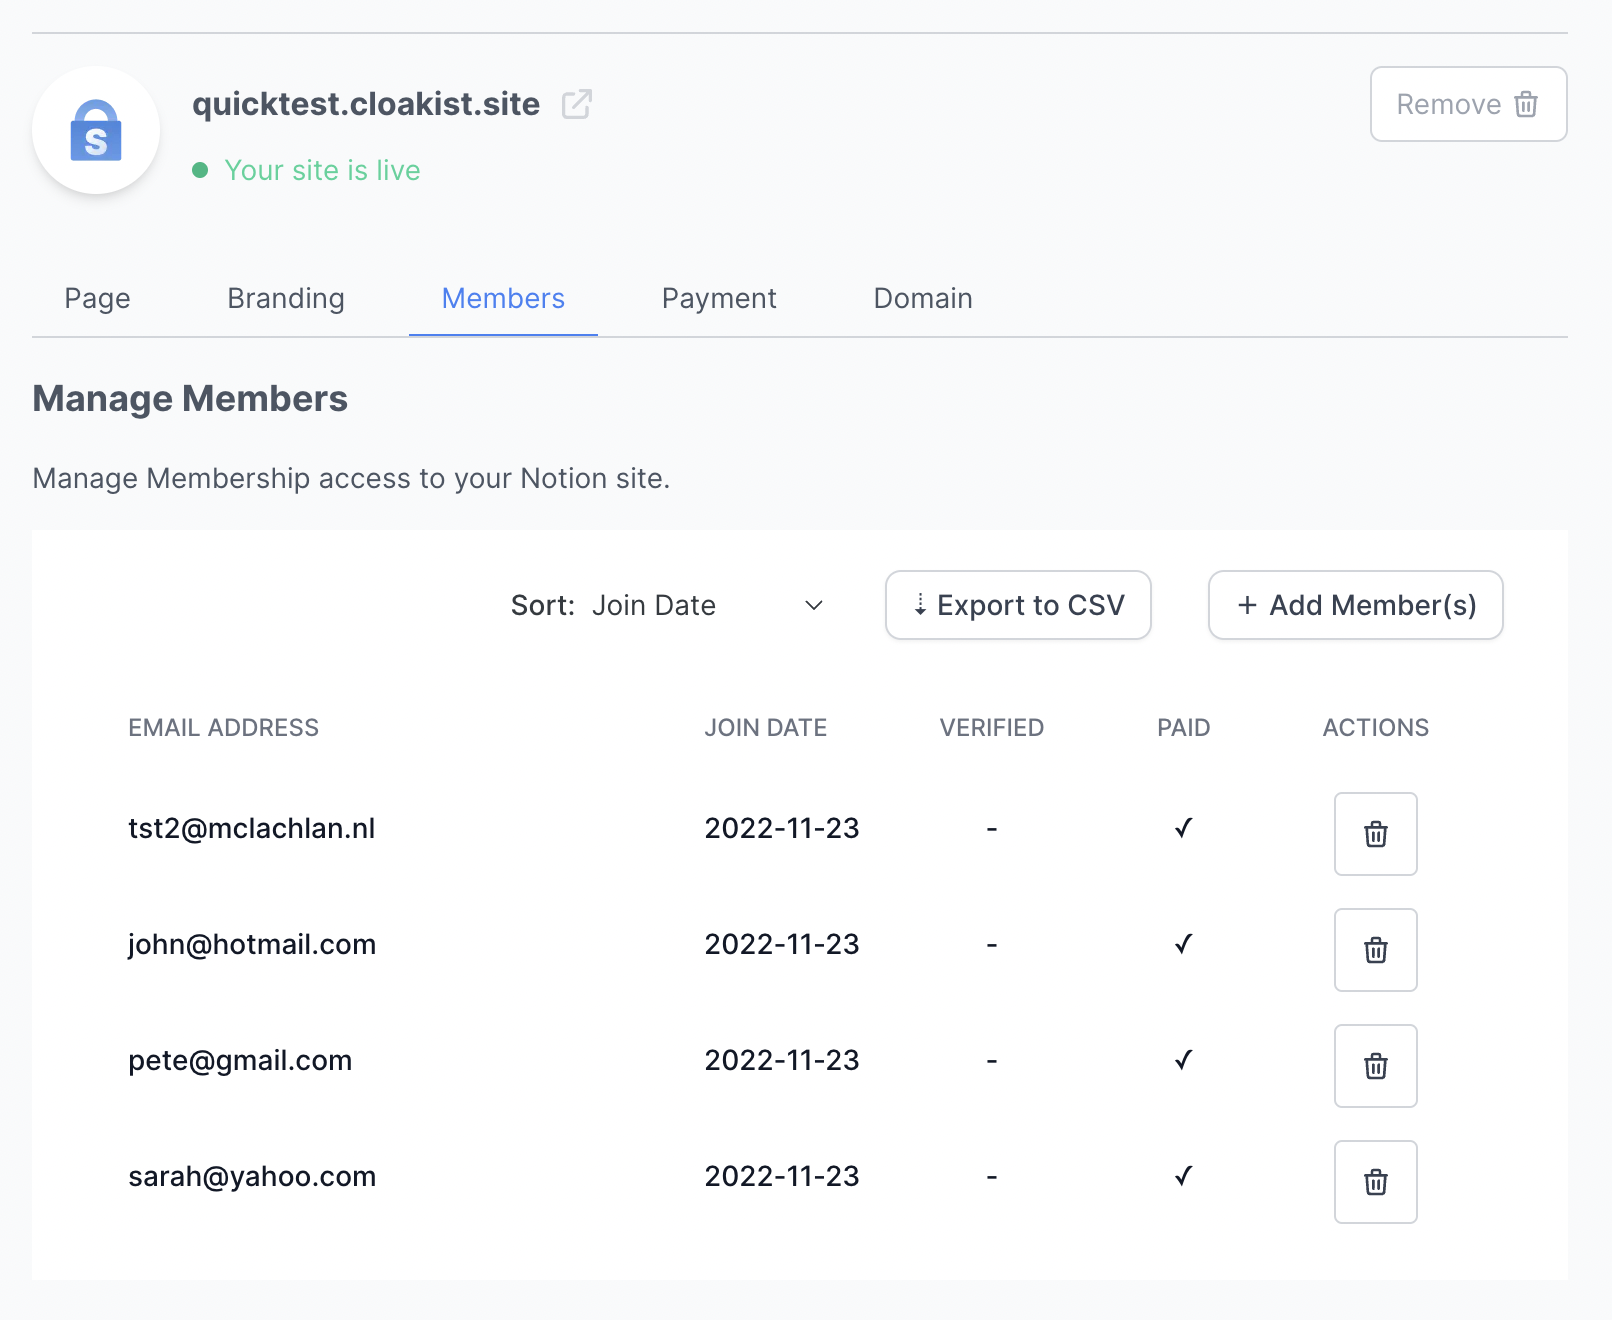
From your
{{global_site_name}} dashboard you will be able to see and manage all members that have signed up and paid for your product.